

As a supplier of Epoxy Floor Paint Color Paste, I've encountered numerous inquiries regarding the issue of bubbles during the application process. Bubbles can significantly compromise the aesthetic appeal and durability of the epoxy floor finish. In this blog, I'll share some practical tips and techniques on how to prevent bubbles when applying epoxy floor paint color paste.
Understanding the Causes of Bubbles
Before we delve into prevention methods, it's essential to understand what causes bubbles to form in the first place. There are several factors that can contribute to this problem:
1. Mixing Issues
- Inadequate Mixing: If the epoxy resin and hardener are not mixed thoroughly, it can lead to uneven curing and the formation of bubbles.
- Over - Mixing: On the other hand, excessive mixing can introduce air into the mixture, creating bubbles.
2. Surface Conditions
- Contaminated Surface: Dust, oil, grease, or moisture on the floor surface can prevent the epoxy from adhering properly and cause bubbles to form.
- Porous Surface: Porous surfaces can absorb the epoxy, causing air to be trapped and released as bubbles.
3. Application Techniques
- Fast Application: Applying the epoxy too quickly can trap air beneath the surface, resulting in bubbles.
- Thick Layers: Applying the epoxy in thick layers can also cause bubbles as the air has difficulty escaping.
4. Environmental Factors
- High Humidity: High humidity levels can slow down the curing process and cause bubbles to form.
- Temperature Fluctuations: Extreme temperature changes during the application or curing process can lead to the formation of bubbles.
Preventive Measures
1. Proper Mixing
- Follow the Instructions: Always follow the manufacturer's instructions for mixing the epoxy resin and hardener. Use the correct ratio and mixing time.
- Use the Right Tools: Use a mixing paddle or drill attachment designed for epoxy mixing. Stir slowly and steadily to avoid introducing air into the mixture.
- Scrape the Sides and Bottom: Make sure to scrape the sides and bottom of the mixing container to ensure all the components are thoroughly mixed.
2. Surface Preparation
- Clean the Surface: Thoroughly clean the floor surface to remove any dust, oil, grease, or moisture. Use a degreaser and a high - pressure washer if necessary.
- Sand the Surface: Sand the floor surface to create a rough texture that will help the epoxy adhere better. This also helps to open up the pores and allow air to escape.
- Prime the Surface: Apply a primer to the floor surface before applying the epoxy color paste. The primer helps to seal the pores and improve adhesion.
3. Application Techniques
- Apply in Thin Layers: Apply the epoxy color paste in thin layers. This allows the air to escape more easily and reduces the risk of bubble formation.
- Use a Roller or Brush: Use a high - quality roller or brush to apply the epoxy. Roll or brush in one direction to avoid trapping air.
- Back - Roll: After applying the epoxy, back - roll the surface to remove any air bubbles that may have formed during application.
4. Environmental Control
- Choose the Right Time: Apply the epoxy when the humidity is low and the temperature is within the recommended range. Avoid applying the epoxy on rainy or extremely hot days.
- Control the Temperature: If necessary, use a heater or air conditioner to maintain a consistent temperature during the application and curing process.
Additional Tips
1. Use Auxiliary Materials
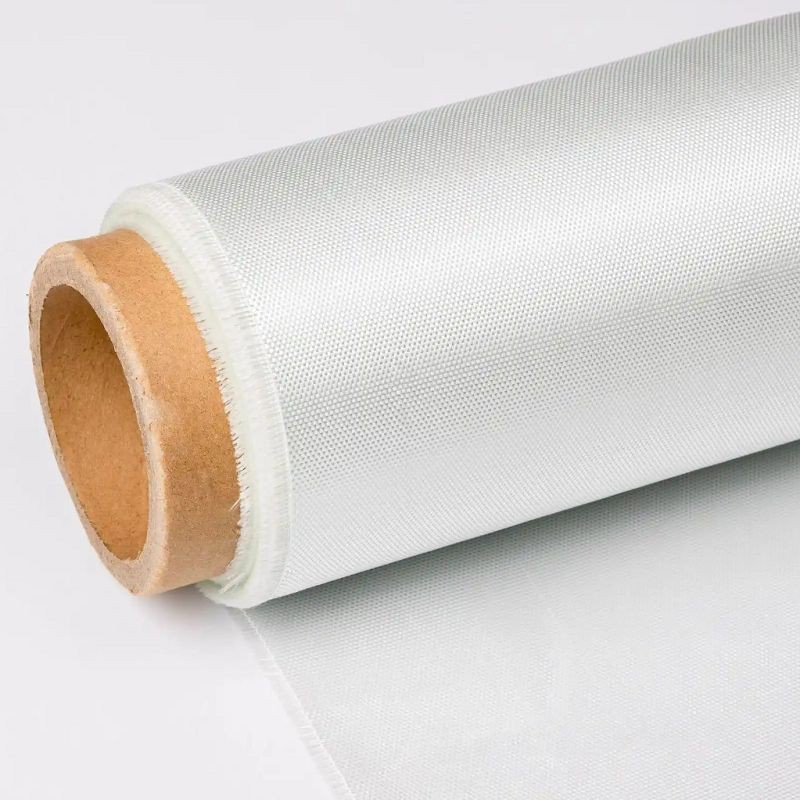
- Fiberglass Cloth for Vinyl Floor: Using Fiberglass Cloth for Vinyl Floor can help to reinforce the epoxy layer and reduce the risk of bubble formation. The fiberglass cloth provides additional strength and stability to the floor.
- Copper Foil for Anti - static Floor: Copper Foil for Anti - static Floor can be used in anti - static epoxy floor applications. It helps to dissipate static electricity and prevent the formation of bubbles caused by static charges.
- Sand Mixed in Floor Coating: Sand Mixed in Floor Coating can be added to the epoxy color paste to create a non - slip surface. The sand also helps to break up air bubbles and improve the overall finish.
2. Inspect the Equipment
- Check the Roller or Brush: Make sure the roller or brush is clean and in good condition. A dirty or worn - out roller or brush can introduce air into the epoxy and cause bubbles.
- Inspect the Mixing Container: Check the mixing container for any cracks or damage. A damaged container can cause uneven mixing and the formation of bubbles.
3. Training and Experience
- Get Proper Training: If you're new to applying epoxy floor paint color paste, consider getting proper training. This will help you learn the correct techniques and avoid common mistakes.
- Gain Experience: The more experience you have in applying epoxy, the better you'll be at preventing bubbles. Practice on a small area first before tackling a larger project.
Conclusion
Preventing bubbles when applying epoxy floor paint color paste requires careful preparation, proper application techniques, and attention to environmental factors. By following the tips and techniques outlined in this blog, you can achieve a smooth, bubble - free epoxy floor finish.

If you're interested in purchasing high - quality Epoxy Floor Paint Color Paste or any of our auxiliary materials, please feel free to contact us for a detailed discussion and procurement negotiation. We're committed to providing you with the best products and solutions for your flooring needs.
References
- Epoxy Floor Coating Handbook, various industry publications
- Manufacturer's instructions for epoxy resin and hardener products